23 June 2021
Create a cloud database to store your form data in FormKeep. Start by clicking here and naming the location that you would like to use to store your form data.
Build a sample form that saves data to your cloud database you created in FormKeep. Download this simple HTML file. You may need to right click or use your browsers menu to “Save as” to save the document locally on your hard drive.
Open the file in a text editor like Notepad and find the following text:
<form accept-charset="UTF-8"
      action="https://formkeep.com/f/XXXXXXXXXXXXXXX"
      method="POST">
And replace it with:
<form accept-charset="UTF-8"
      action="https://formkeep.com/f/INSERT_YOUR_FORM_KEY_HERE"
      method="POST">
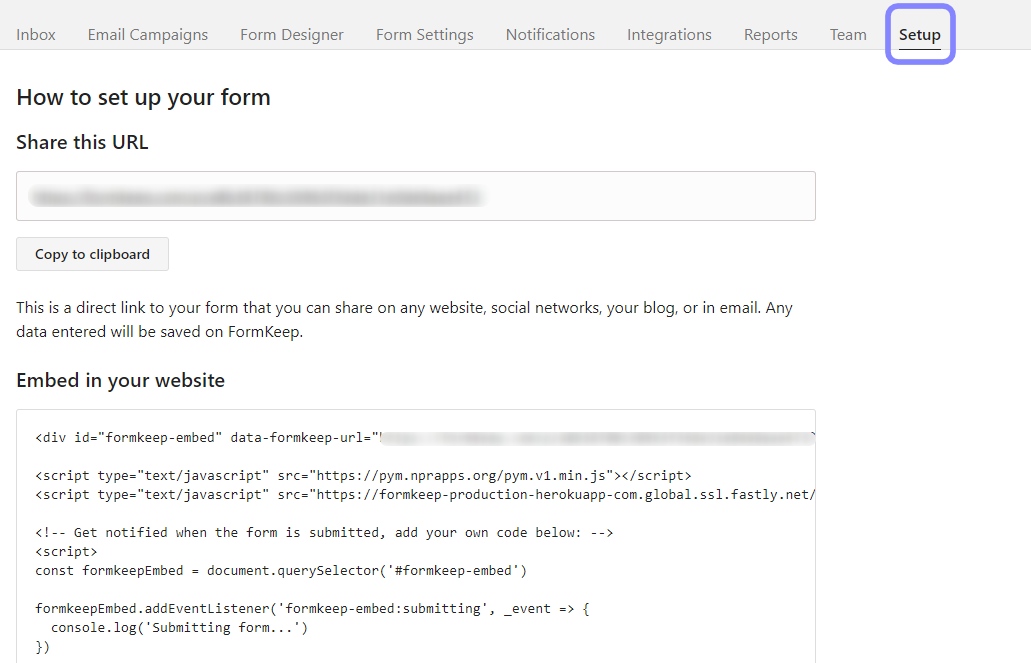
You can locate your key heading over to Setup and then selecting the Key from the first input field as shown below. After you have replaced the key in the file provided with your own Key, please save the file.
In this final step, drag the HTML file that you updated into a browser window like this:
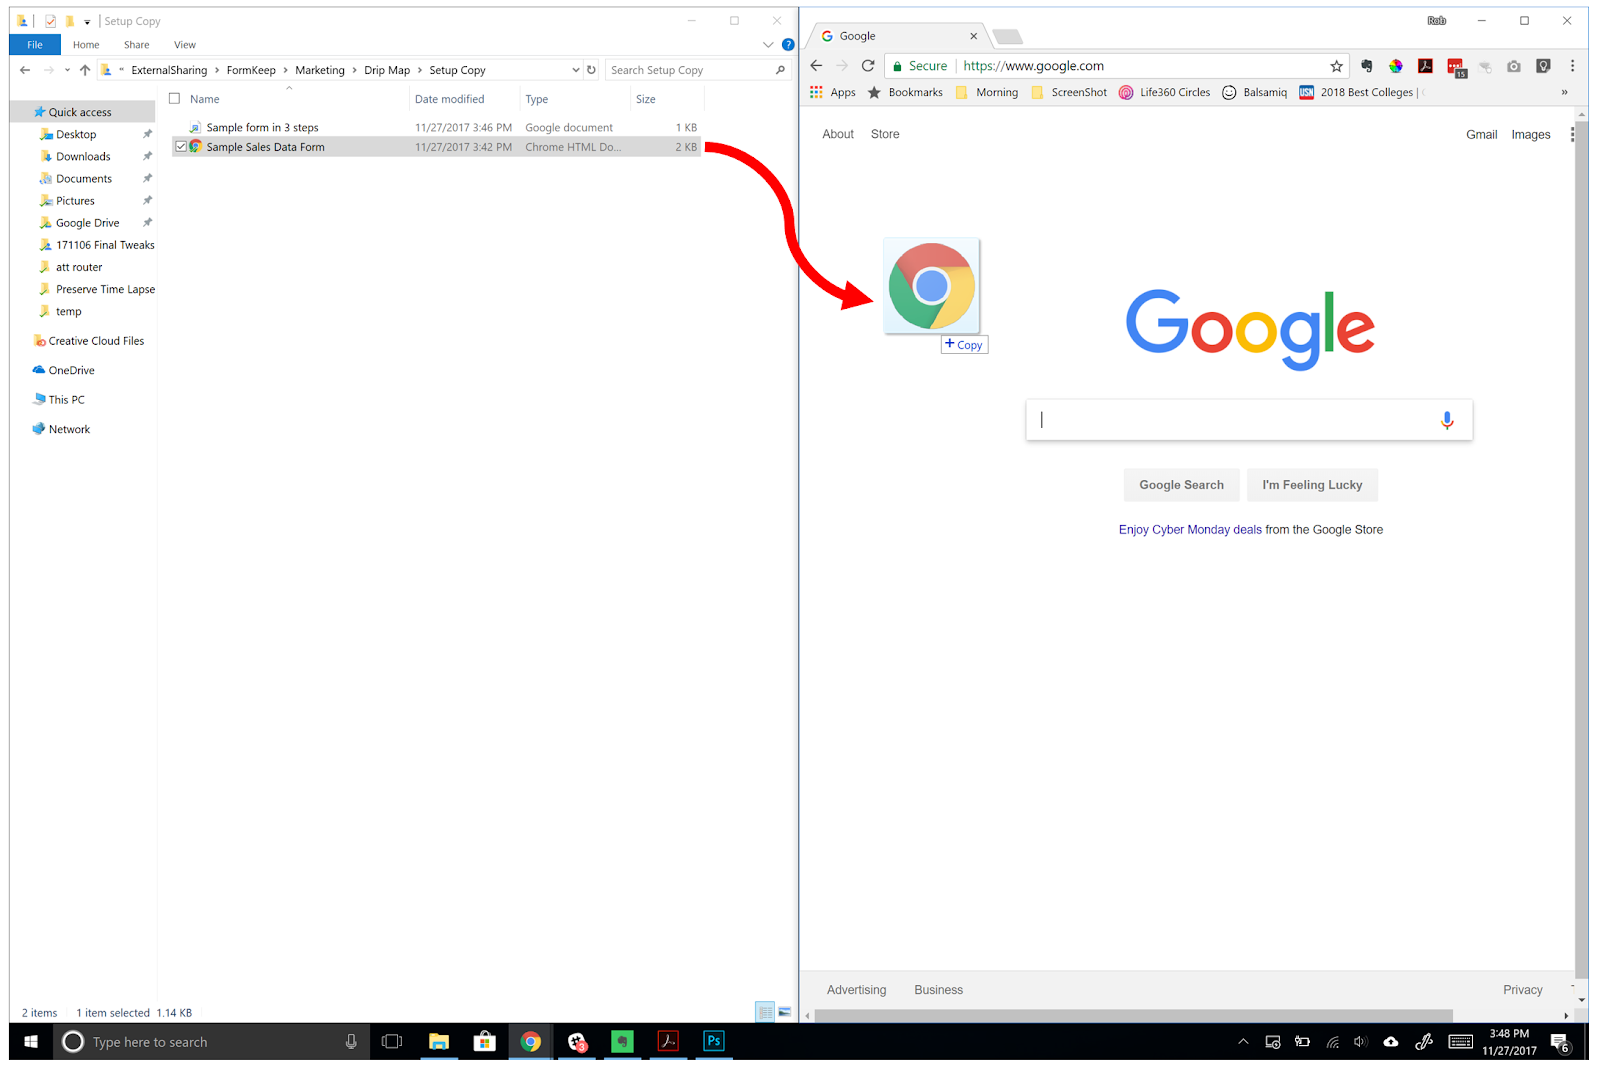
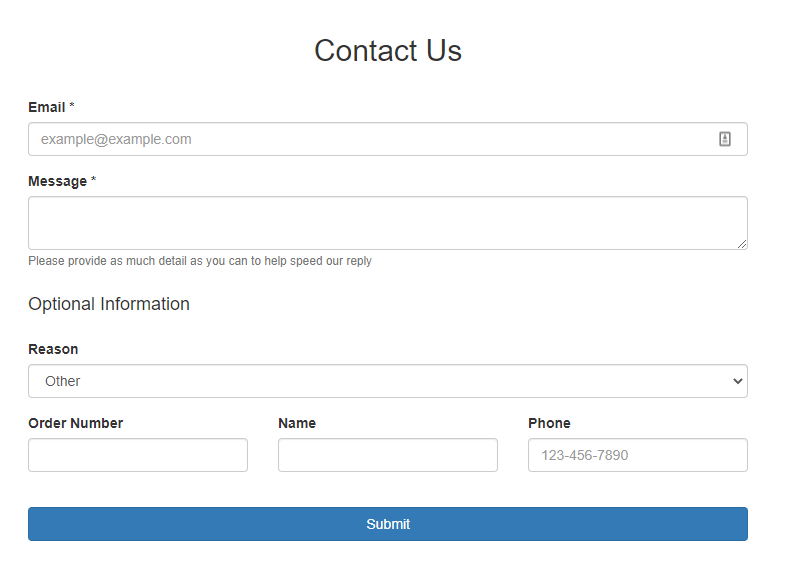
Dragging the HTML file over into the browser window should result in a simple web form in the browser window that looks like this:
After you fill out with sample data, click Submit and then return to FormKeep. Once logged into FormKeep, select your form from the pull down in the upper right and you should be able to view your sample form submission as illustrated below.
That’s it! You can create any form in any format that you like and all you need to do is update the action attribute to include your form key as described above.
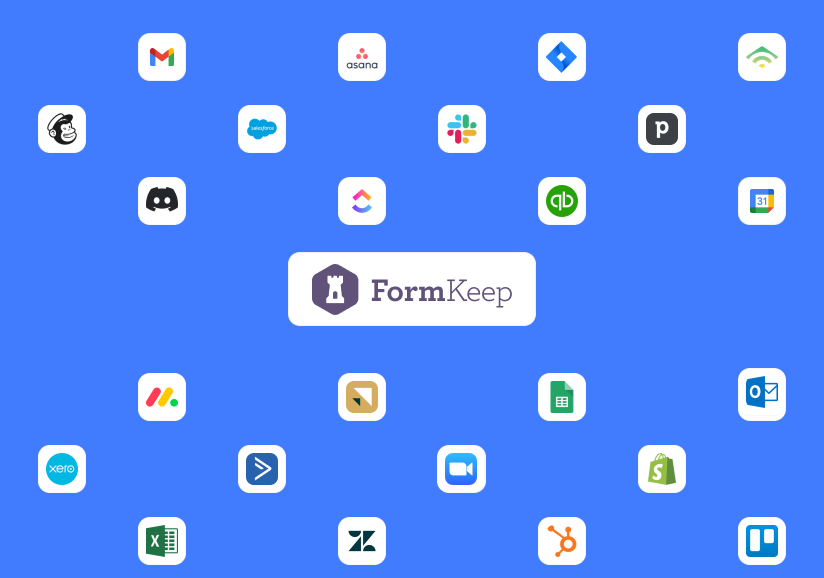
Once FormKeep is storing your data you can easily export the data or connect with over 1000+ different applications such as Google Sheets, Salesforce, ZenDesk, Hootsuite, MailChimp and hundreds of others via Zapier.