---
title: Setting up your forms with Close Integration
date: '2022-09-19T16:10:00+00:00'
url: https://support.formkeep.com/close-integration-setup/
summary: Welcome! Here we’ll walk you through setting up your FormKeep form submissions
with the Close Integration.
tags:
- Guides
- Integrations
author: Support Team
---
# Setting up your forms with Close Integration
Welcome! Here we’ll walk you through setting up your FormKeep form submissions with the **Close Integration.**
Close is one of the native integrations that can save your submissions in leads.
## Linking your Close account with FormKeep
Linking your Close account is done via an API token. You can find yours on the Close websitem under the settings screen here [https://app.close.com/settings/api/](https://app.close.com/settings/api/).
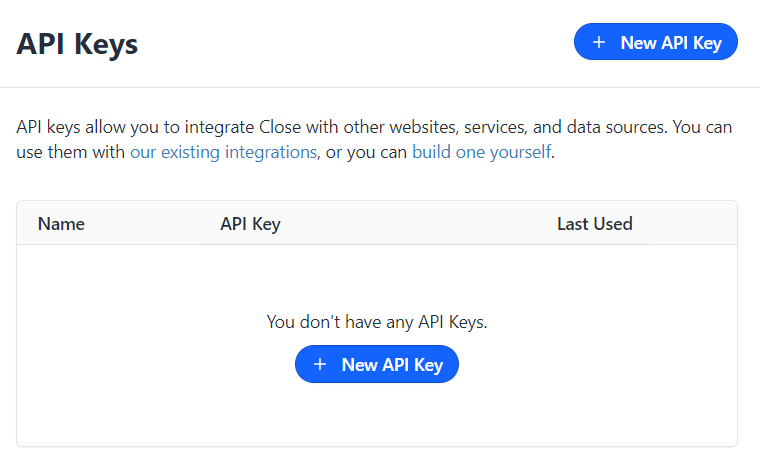
For security reasons, Close does not display any existing API keys. If you do not have a key available you can create a new one:
{: width="450" style="display:block; margin-left:auto; margin-right:auto"}
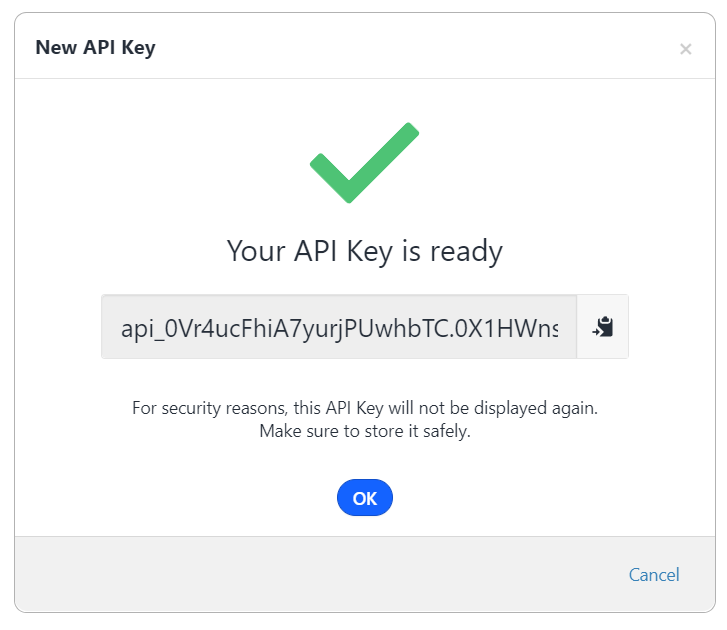
Once generated, copy the key:
{: width="450" style="display:block; margin-left:auto; margin-right:auto" }
and enter it on FormKeep's API Key component by selecting the Close app, a Close action, and the "Add new account" button as shown below:
# Create new Lead
The **Create new Lead** action lets you create a new **Lead**, set its **status** as well as optionally attaching an initial **Contact, Opportunity, Note** and any available **Custom fields** in your organization.
The only required field when creating a lead is the Company Name of the Lead.
You may also optionally associate the following:
- **Contact**
* Contact name
* Contact title
* Contact office email
- **Opportunity**
* Opportunity note
* Opportunity confidence
* Opportunity value
- **Note**
- **Custom Fields**
## Mapping
Depending on the type of inputs your form contains, you may wish to map these to any of the values mentioned above.
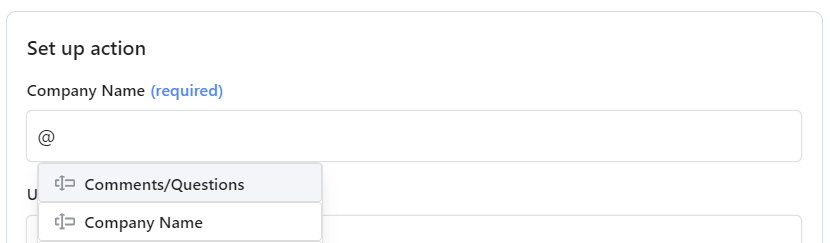
This can achieved via the *insert data* button or typing the @ symbol, gaining access to any relevant form fields:
{: width="450" style="display:block; margin-left:auto; margin-right:auto" }
### Field requirements
Mapped fields must match the corresponding field’s type. For example, an email must be a valid format, otherwise the integration will fail to run.
* Contact office email: must be a valid email
* Opportunity note: must be a numerical value between 0-100
* Opportunity value: must be a currency amount (e.g. 1,200.50)
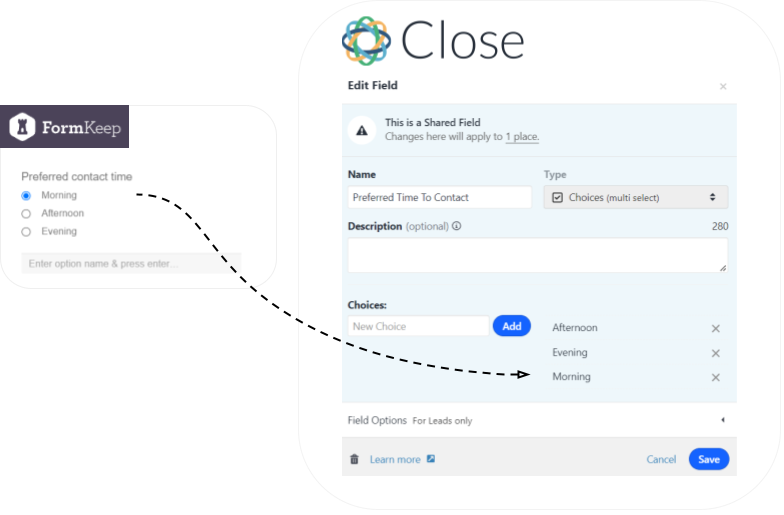
* Dropdown value with preselected choices: must match one of the choices made available on the form designer:
{: style="display:block; margin-left:auto; margin-right:auto" }
**Mapping Example**
Given the following form:
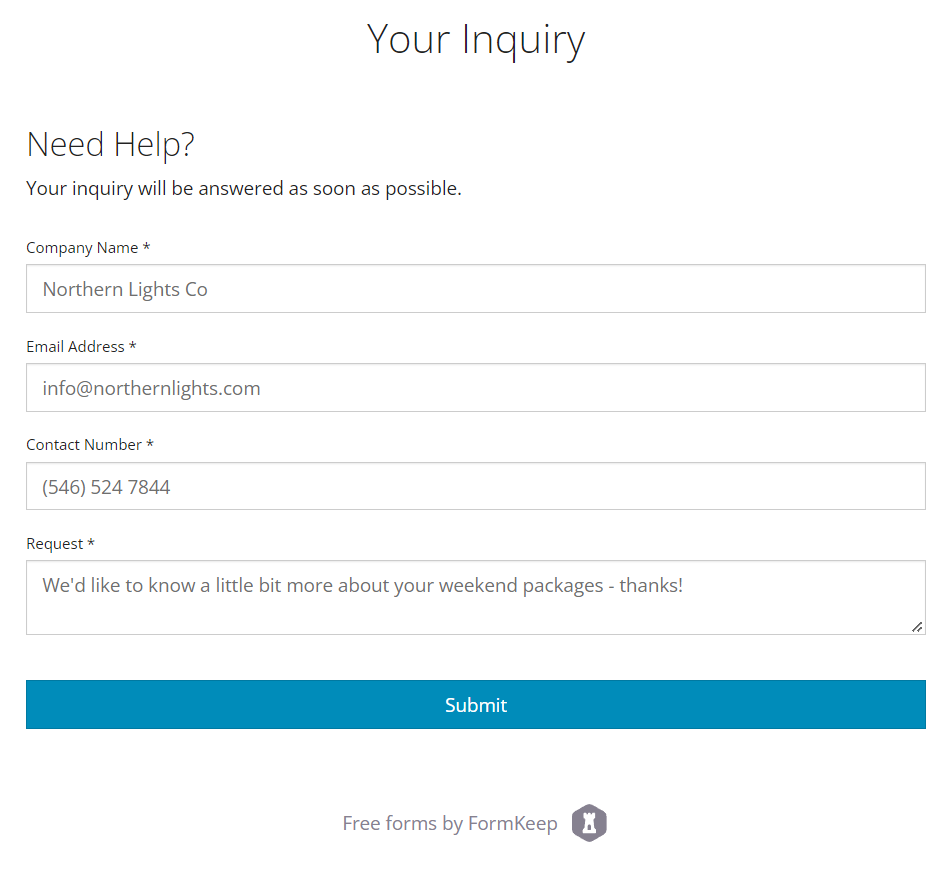{: width="450" style="display:block; margin-left:auto; margin-right:auto" }
and an integration mapping configuration:
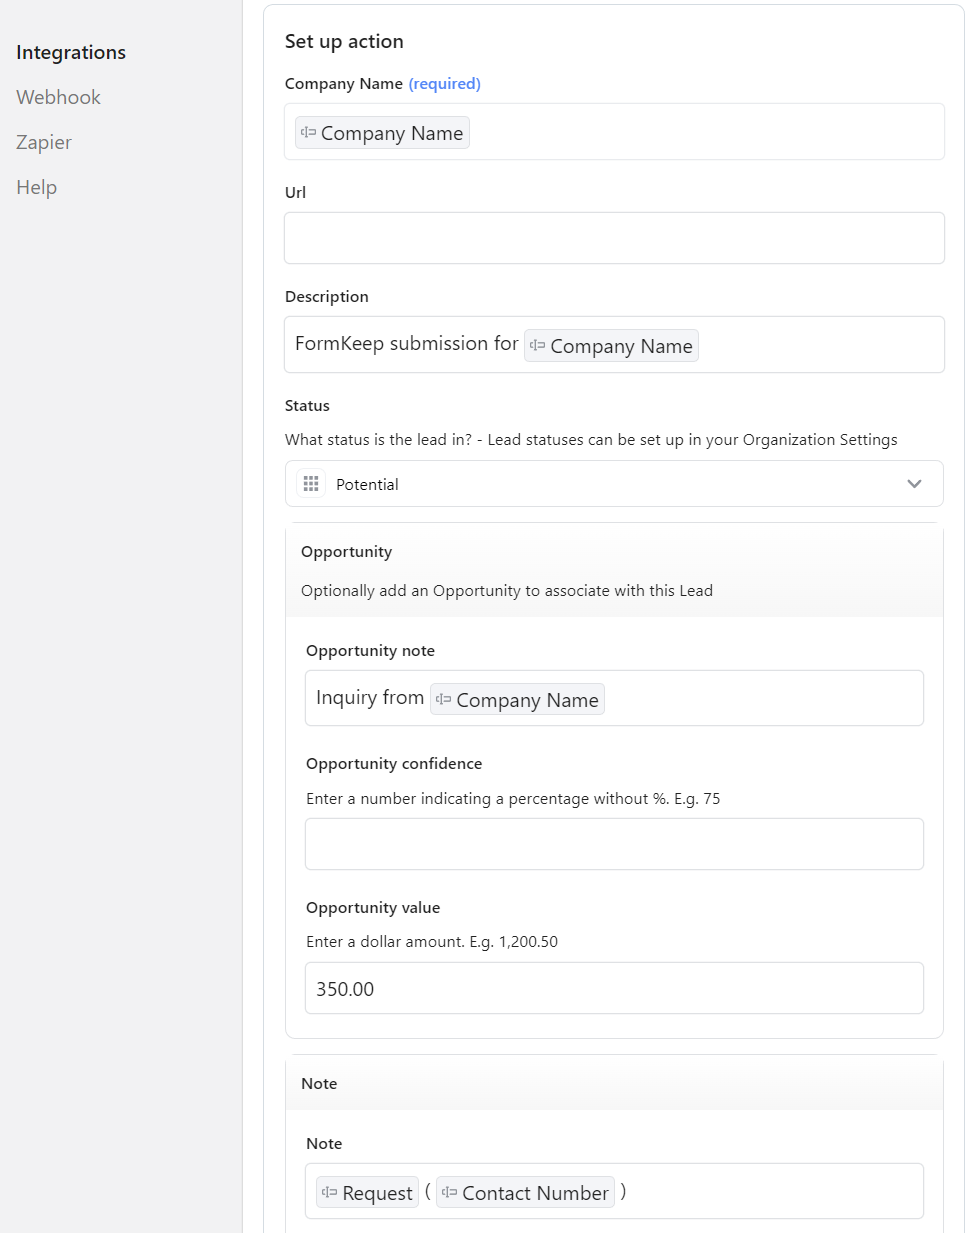{: width="450" style="display:block; margin-left:auto; margin-right:auto" }
will generate the following Lead in Close:
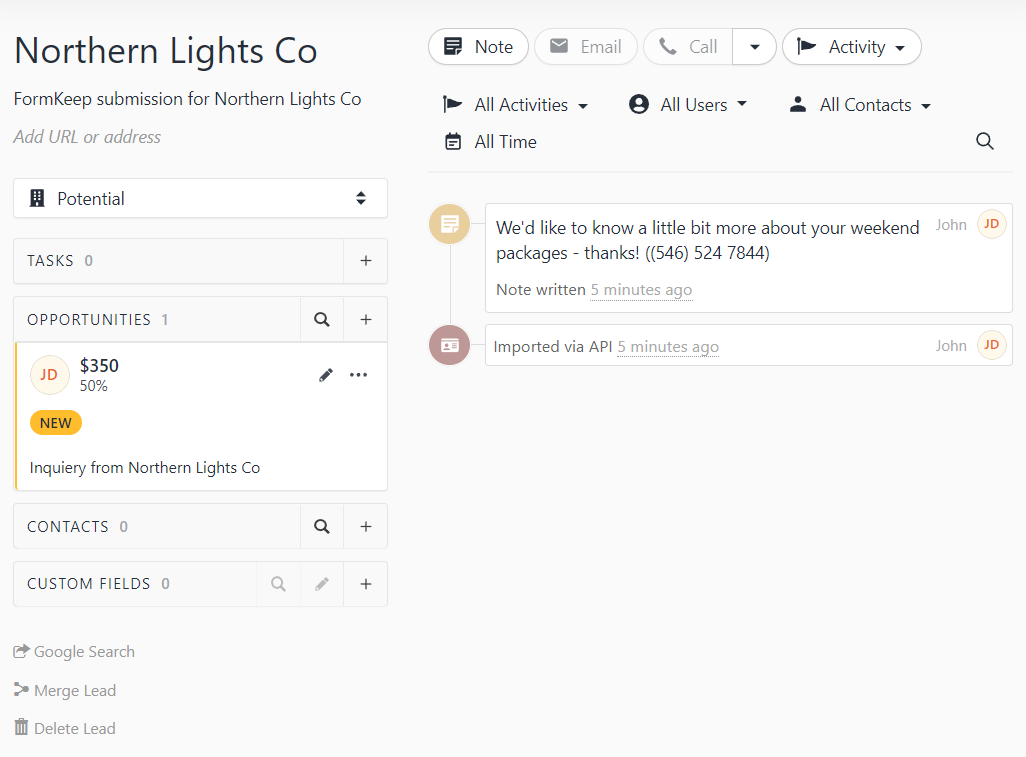{: style="display:block; margin-left:auto; margin-right:auto" }